
You can use the Apache updater (called “EasyApache”) to enable Apache or PHP modules, such as cURL.
EasyApache is a powerful script that allows you to customize your profile by enabling or disabling Apache and PHP modules.
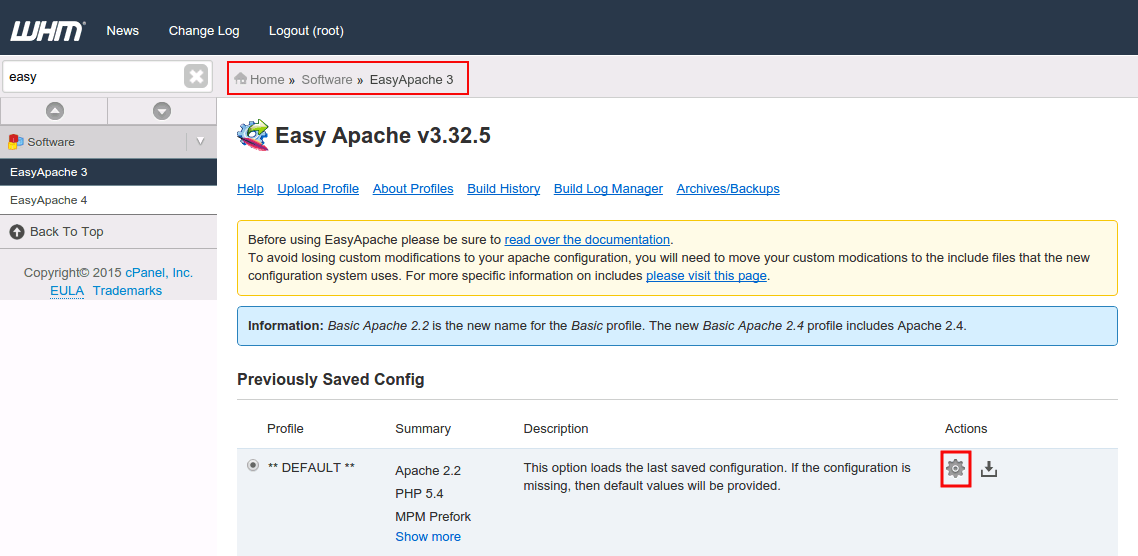
- Login to WHM as root user.
- Under Software section, click EasyApache option. At next screen, you would see the current Apache configuration (current profile) under Previously Saved Config. Hover the mouse over gear icon Customize Profile located under Action column.
At next screen, you would see EasyApache wizard consisting of following stages.
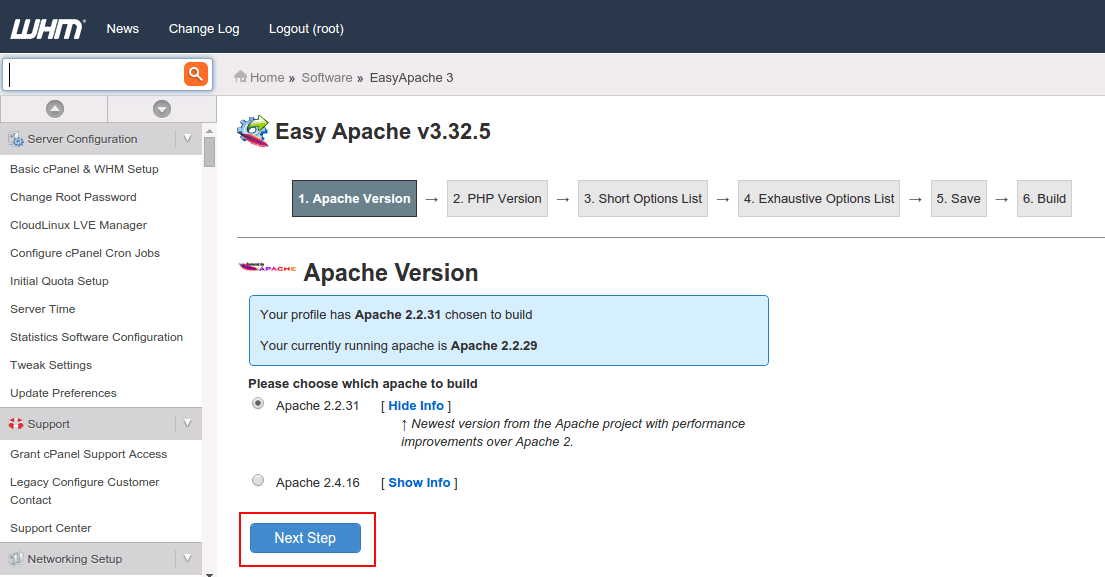
- Apache Version == At this stage, EasyApache build process allows you to select Apache version you want to use in your profile. If you just want to enable or disable modules then you should leave this option as default and click on Next Step button.
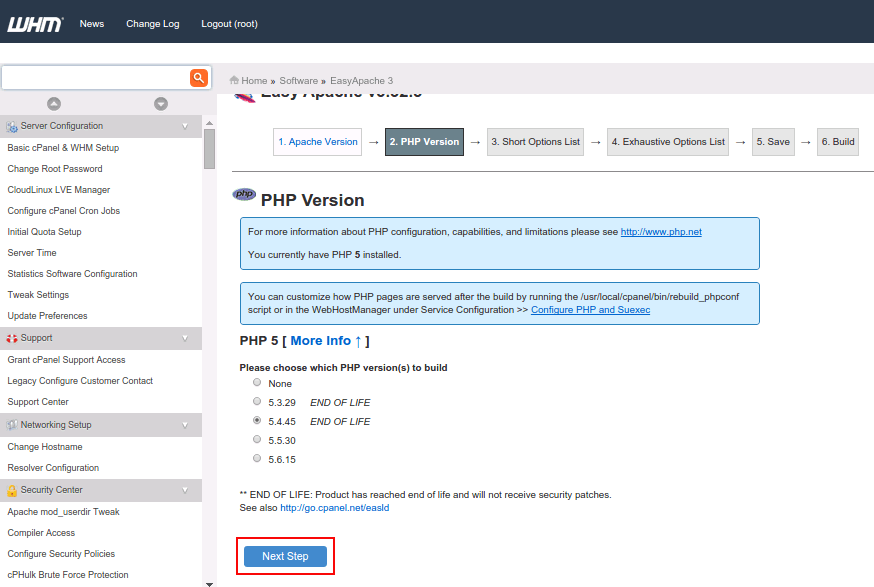
PHP Version == At next stage, EasyApache build process allows you to select PHP version you wish to choose. If you just want to enable or disable modules then you should leave this option as default and click on Next Step button.
To Enable ApacShort Options List == At Short Options List stage, EasyApache build process allows you to select the features you wish to include in your EasyApache profile. Go through the Short Options List and enable the modules you wish to add. You can also disable the unwanted modules by deselecting them. Make sure that you just enable only what you need since installing too many modules can cause server performance issues.
At the bottom of this page, you will have an option to Save and Build your profile as it is now. As an alternate option, you can go to the Exhaustive Options List for further configuration options.

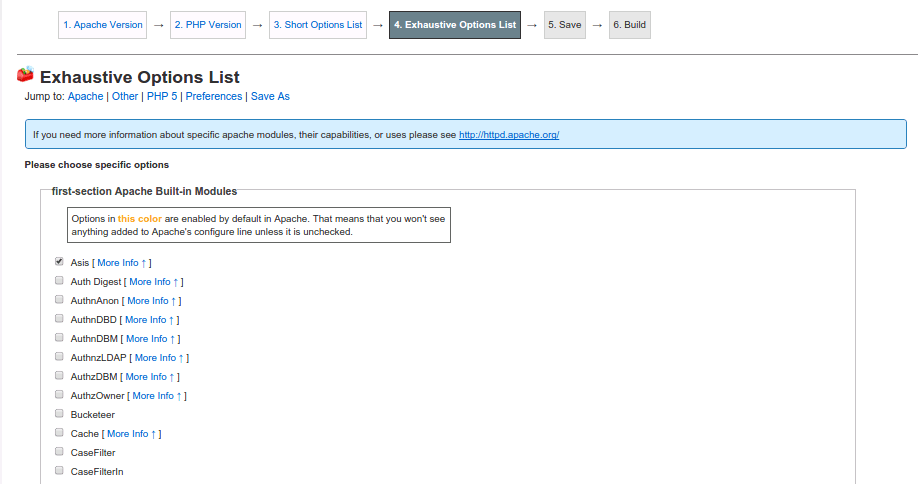
Exhaustive Options List == You would not see this stage, if you chosen to build the profile in the previous stage. At this stage, EasyApache build process allows you to select more features to include with your EasyApache profile. Here, you will have exhaustive configuration options to tweak Apache, PHP and other modules. Select an option to enable and deselect to disable it.
Once you select/deselect modules, scroll down to the bottom of the page. If you choose to Save only (Do NOT Build) option, the cPanel will just save your profile. To build your profile, click on Save and Build option. If any necessary adjustments are required, you will be notified and forwarded automatically to the build page. Please be patient and do not to close the browser during this process since Apache rebuild may take some time depending on your settings.

In General:
- Log in to WHM as the ‘root’ user.
- In the Find box type
easy. - Click EasyApache (Apache Update).
- Leave default, and then click the gear icon (Customize Profile).
- Leave default, and then click Next Step.
- Click Exhaustive Options List.
- Click the name of the Apache or PHP module, and then click Save and build.
During this process cPanel rebuilds Apache and PHP with the options selected. This process can take time to complete and should not be interrupted as it can lead to problems on your server.